Expert Controller Plus Quick Start guide
This Quick Start guide is not a substitute for the full User Guide. It is intended to identify the minimum actions necessary to create a new Connection, start the Connection and start controlling your Expert amplifier.
Getting the software
Expert Controller Plus is available from two locations:
-
Direct from g0rvm.uk
-
From the Apple App store.
The release at g0rvm.uk is currently for evaluation purposes only and has an evaluation period of 30 days. After this time functions to Start, Stop, Wake and Sleep Connections and Groups becomes restricted. In future it will be possible to purchase the unrestricted version of Expert Controller Plus directly from the g0rvm.uk website, however, at this time the unrestricted version is only available to purchase from the Apple App store.
The Apple App store release also has a free evaluation period of 30 days but the unrestricted version may then be purchased with a one-time, In App Purchase.
Functionally both the version from g0rvm.uk and the Apple App store are the same.
Installation
If Expert Controller Plus was obtained direct from g0rvm.uk, double-click on the downloaded '.pkg' file and macOS will guide you through the installation process. It's quick and simple. If it was purchased from the Apple App Store, the purchase process will perform the installation.
Execution
After installation there will be an App named 'Expert Controller Plus' in your Applications folder with the icon shown below.

Double-click the App icon and Expert Controller Plus will start.
Expert Controller Plus requires access to keychain to store information that it needs to persist between running the App. When Expert Controller Plus attempts to access keychain for the first time macOS will open the window shown below, requesting your permission for this to occur. Please enter your macOS password and select Always Allow.

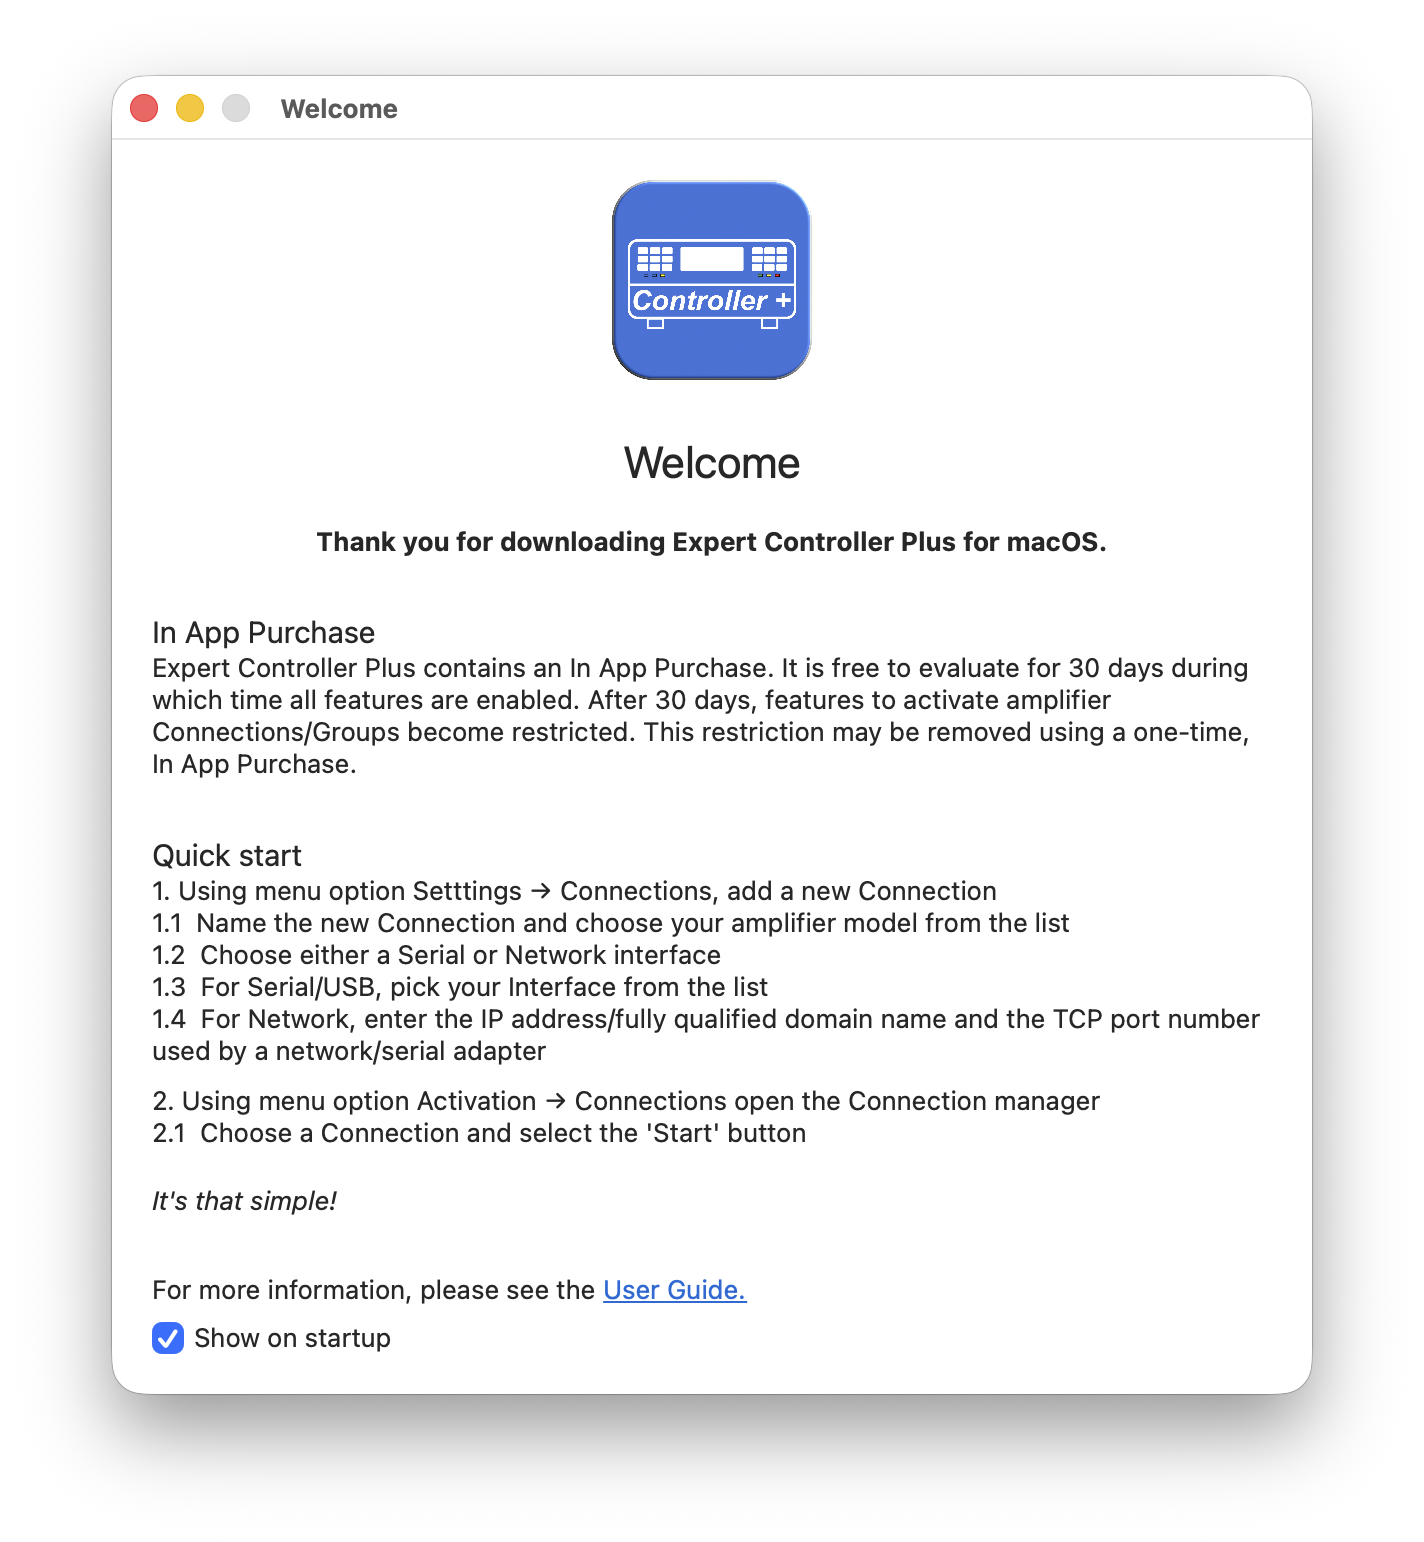
On starting, a Welcome window and a Connection overview window will be presented. The 'Welcome' window, shown below, identifies the key actions identified in this Quick Start guide and can be closed after reading.
Configuration
It's necessary to create a new Connection that details your type of amplifier and how it's interfaced to your Mac. This Quick Start guide will assume the amplifier is an Expert 1.3K-FA and it's connected using a USB interface.
First connect your amplifier to your Mac using a USB cable, then power-on the amplifier so that its fans are running and its, front panel LCD display, presents information.
Next, configuration is achieved using the Connection settings window which is accessed using macOS menu-bar options: Settings | Connections.
Follow these steps:
-
Add a new Connection using the '+' / Plus icon
-
Select the new Connection. By default it is named 'New Connection'
-
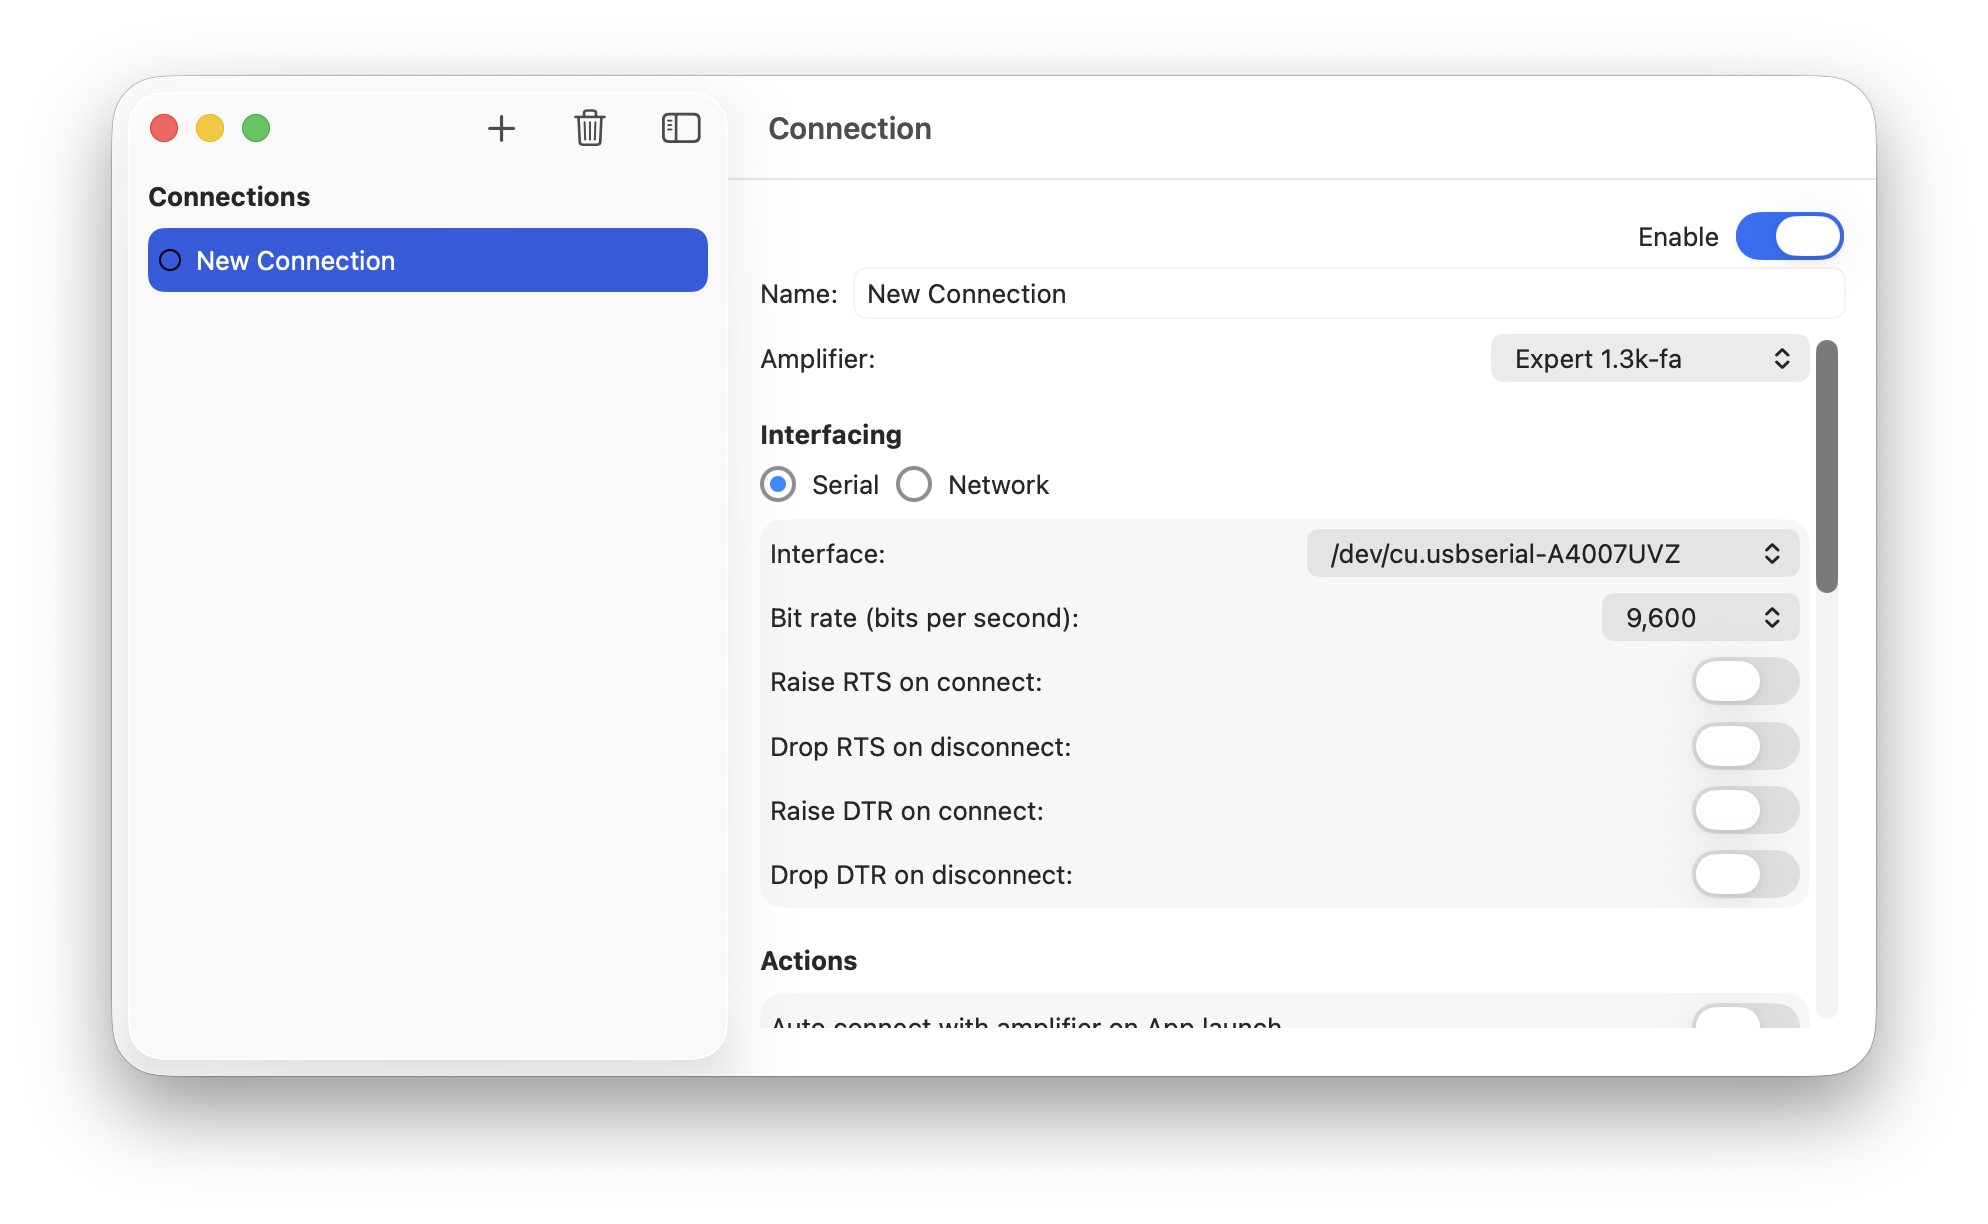
In the right-side window pane change the Connection Name to something more meaningful such as 'Expert 1.3K-FA (serial)'. The choice of name is entirely yours.
-
Choose the serial interface to which the amplifier is connected using the 'Interface' list control.
NOTE: The amplifier must be powered-on, awake and connected for it to appear in the list. Also note that the interface name is different for every amplifier and thus different to that in the image below.
For an amplifier interface to be listed it must first be recognised by macOS. If using a USB and the cable was only connected once the Connections settings window was opened try closing the window and re-opening as it only gathers the list of interfaces known to macOS when opened.
There are many other settings that could be changed but the remainder can be left at their defaults for the purposes of this Quick Start guide.
Next, close the Connection settings window.
Activate a Connection
From the macOS menu-bar, select Activation | Connections and in the resulting window select your Connection.
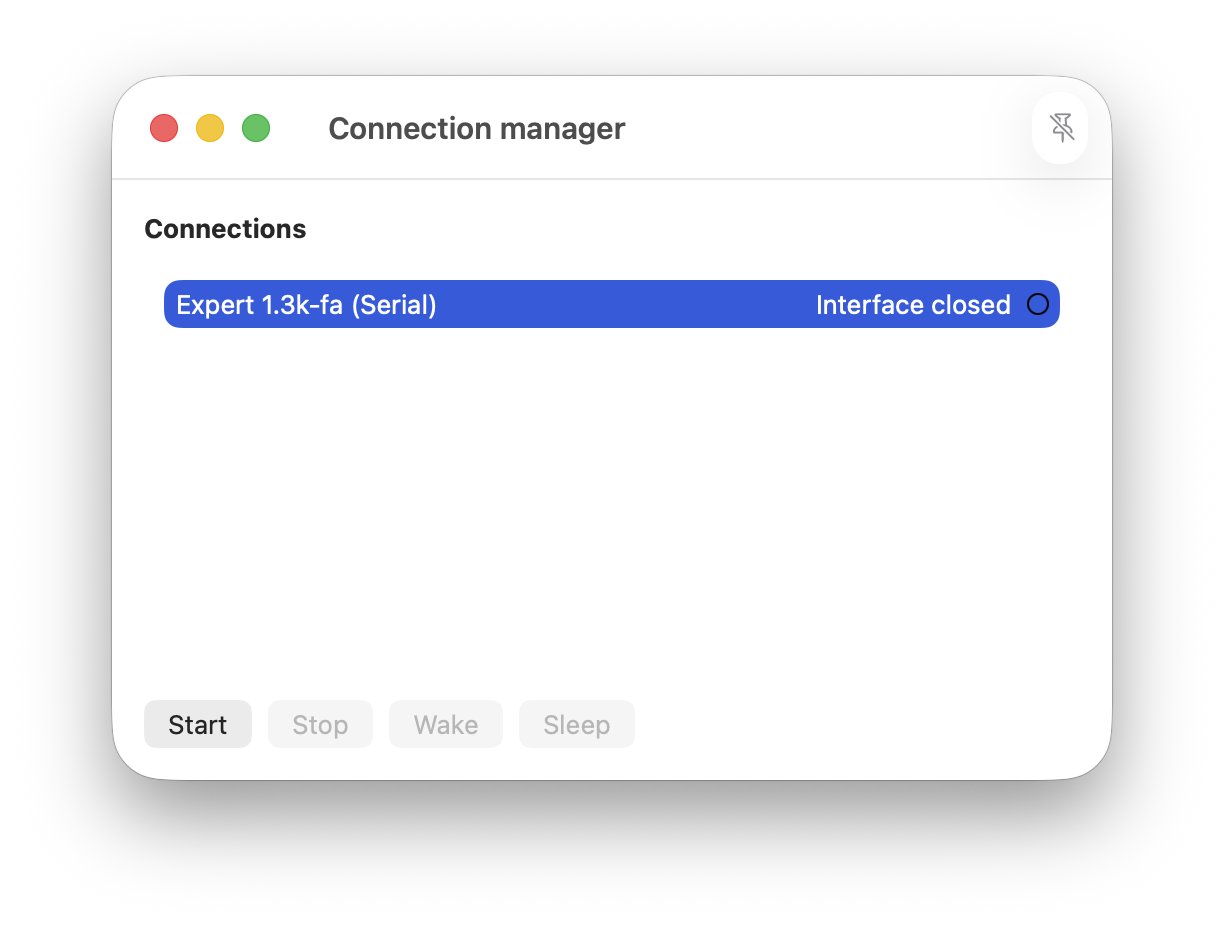
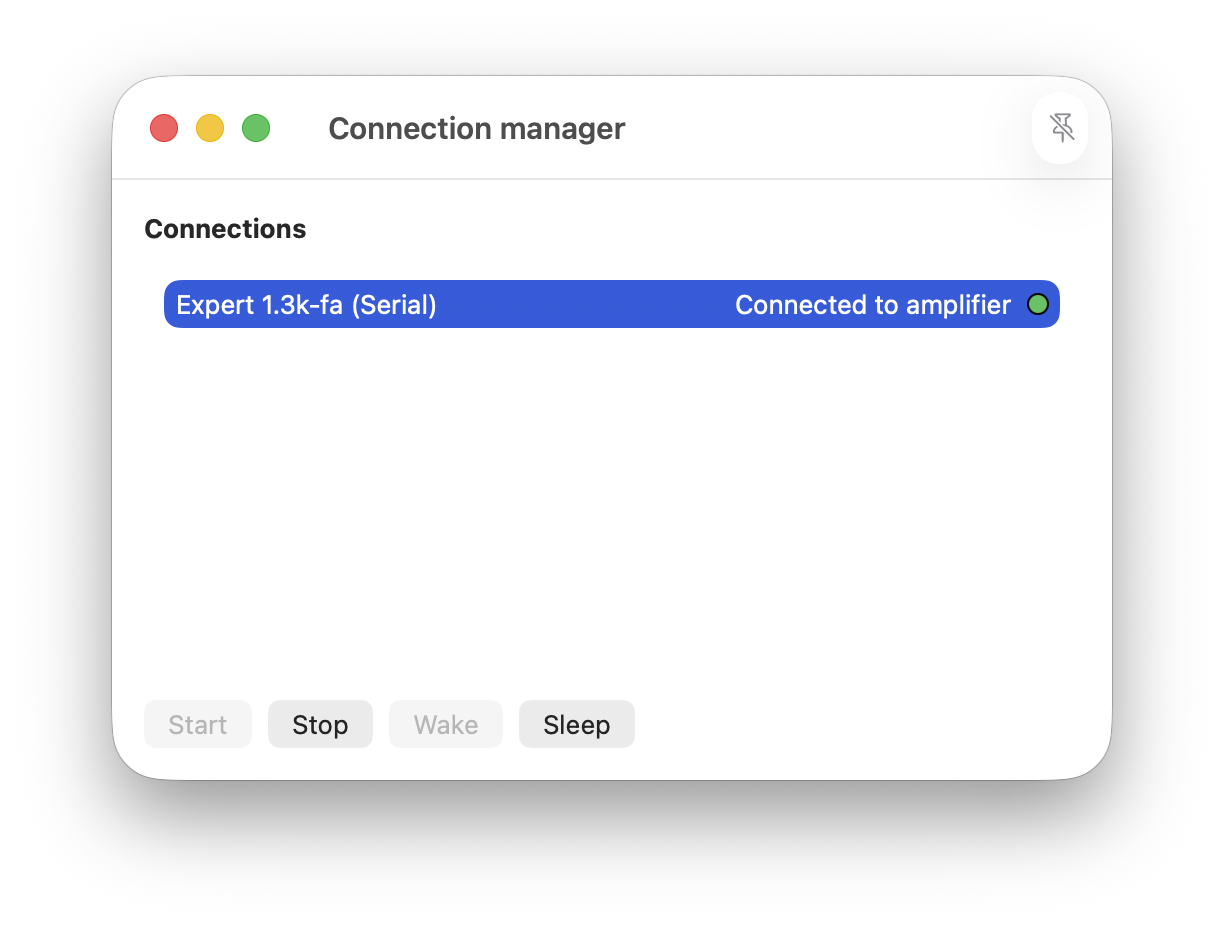
Next, select the 'Start' button and the Connection will start. When creating the new Connection, in the preceding step, we did not change the defaults for the Default windows property so, a window similar to that below will be presented.
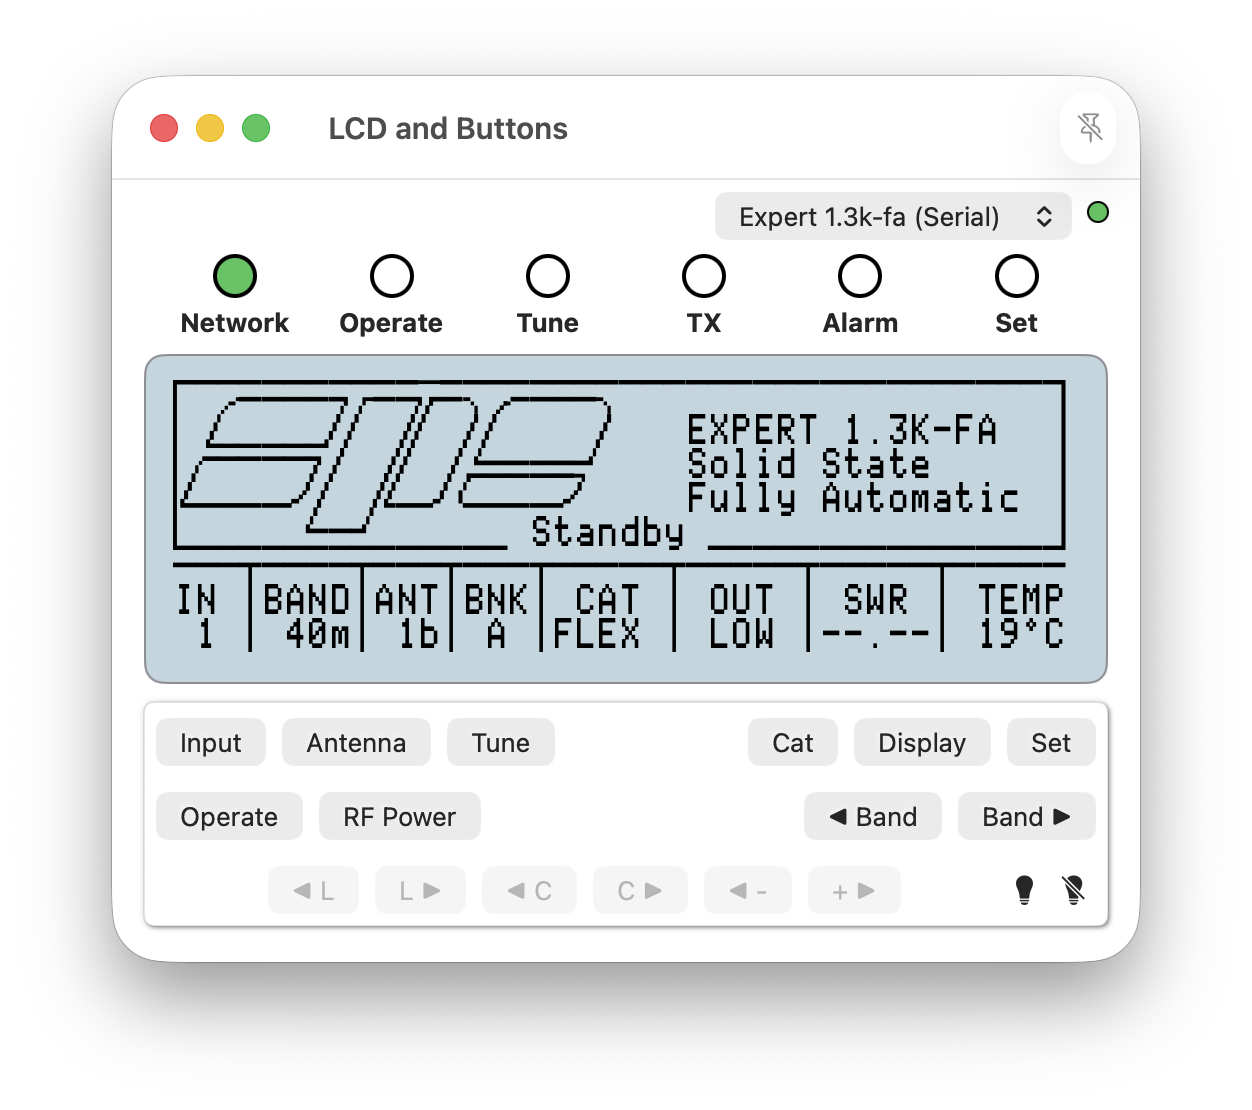
Use the buttons on this window to control your Expert amplifier.
To stop the Connection, return to the Connections manager window using the macOS menu-bar option, Activation | Connections, select the Connection followed by the 'Stop' button.
Please read the User Guide for a more complete description of configuration and of Expert Controller Plus operation.